
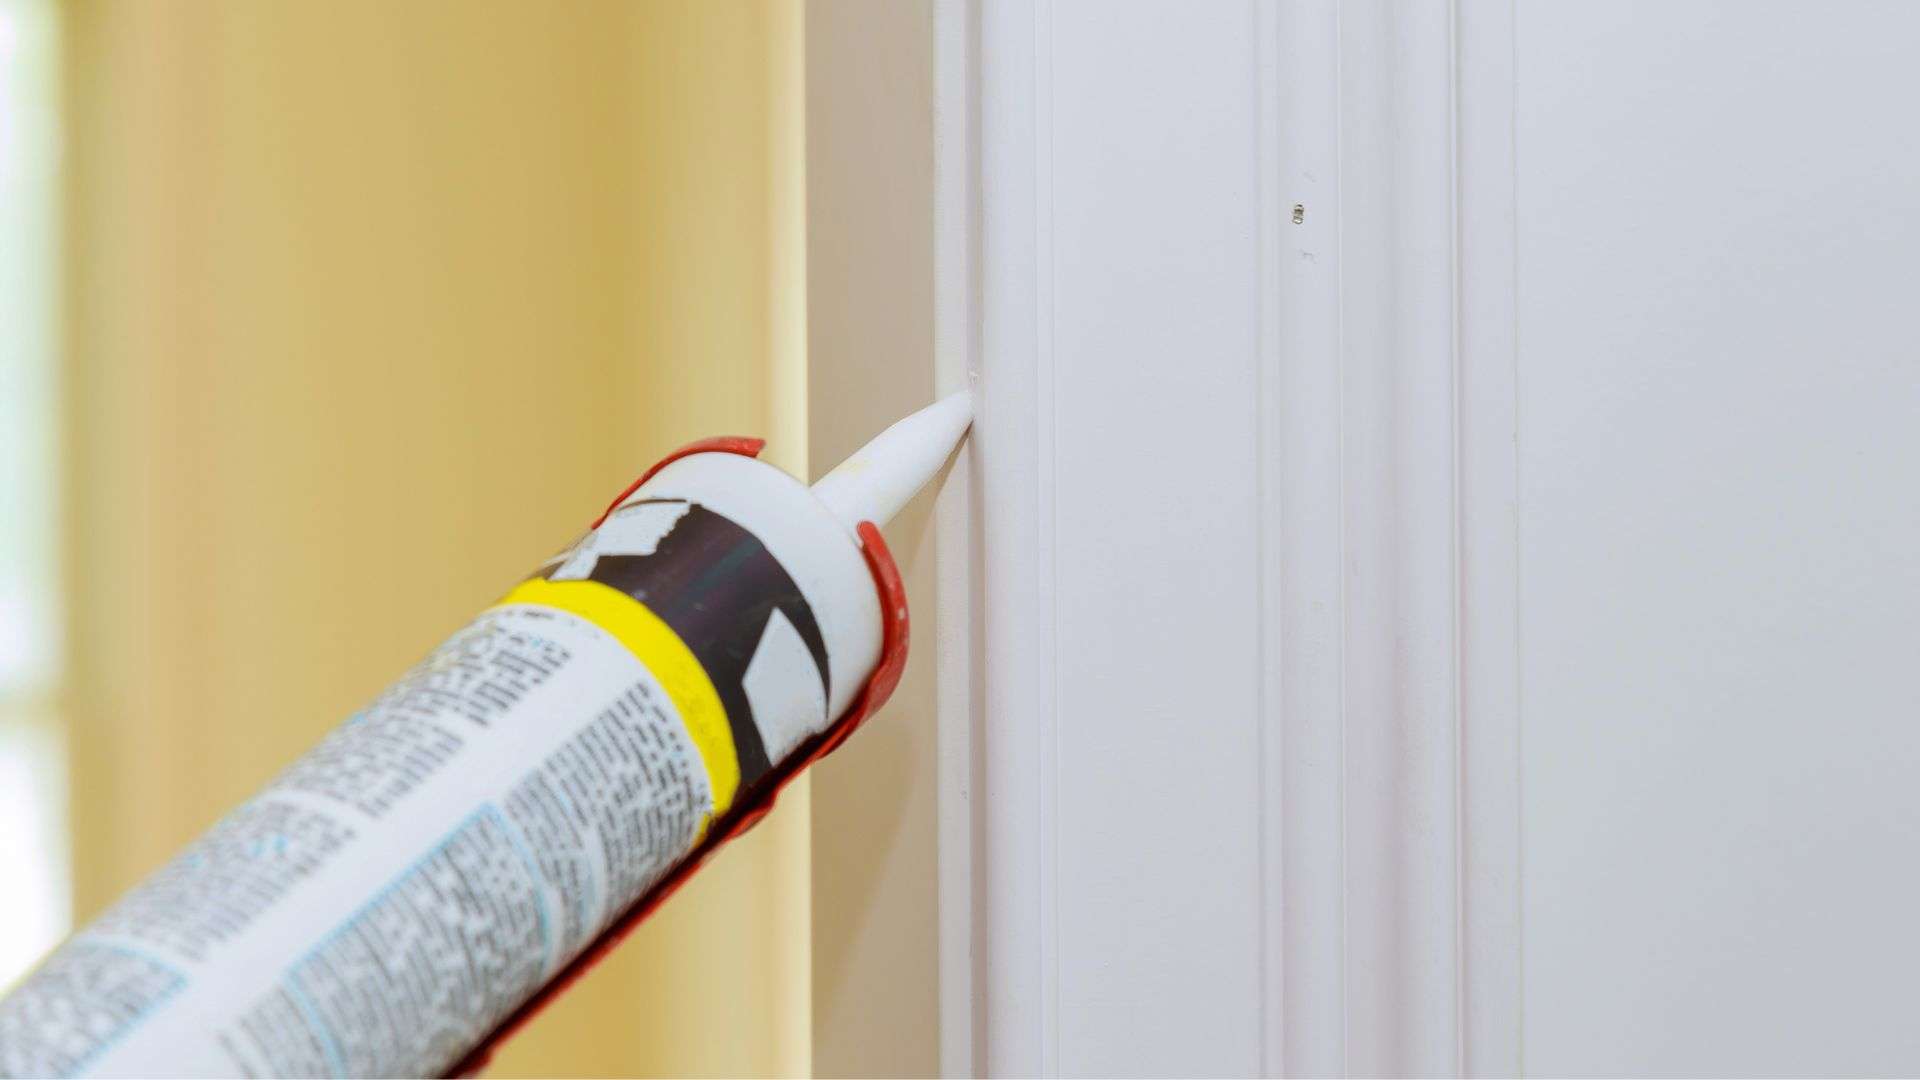
When it comes to tiling projects, especially those involving sealing with silicone, understanding the drying and curing times is crucial to achieving long-lasting, durable results. As a tiler in Bristol, it’s essential to be aware of how silicone behaves in varying conditions, especially in the humid and often chilly climate of the UK. Whether you’re sealing your bathroom tiles or ensuring waterproofing around windows, knowing how long silicone takes to dry and cure can help you deliver flawless results to your clients.
In this guide, we’ll explore everything you need to know about silicone drying times, factors affecting the curing process, and why getting it right is essential for the durability of your tiling projects.
What is Silicone Sealant and Why is Drying Time Important?
Silicone sealant is a versatile material used widely in tiling applications. It provides a flexible, waterproof seal that protects against moisture, mould, and mildew – all essential factors in the UK, particularly in bathrooms and kitchens. Silicone is commonly used for sealing joints and gaps between tiles, bathtubs, sinks, showers, and more. However, unlike adhesives that bond quickly, silicone requires time to dry and fully cure before it can be exposed to water.
Understanding the drying and curing process is essential for both professional tilers and homeowners. Rushing the drying time could result in a compromised seal, leading to leaks and potential damage to the tiles. Therefore, proper curing ensures that the silicone performs as expected for many years, offering long-term protection against water damage and moisture infiltration.
The Basics of Silicone Drying and Curing Time
The drying time for silicone sealant generally depends on several factors, such as temperature, humidity, and the thickness of the silicone applied.
- Touch Dry vs Full Cure: It’s important to differentiate between silicone being ‘touch dry’ and being fully cured. Silicone can feel dry to the touch within a few hours of application, but it may still require a significant amount of time to fully cure. Typically, a full cure takes about 24 hours under standard conditions, but this can vary depending on environmental factors. For the best results, it’s recommended to allow the silicone to cure for at least 24 hours before exposing it to water.
- Temperature and Humidity: In the UK, especially in places like Bristol where the weather can be unpredictable, temperature and humidity levels play a major role in how quickly silicone cures. In warmer environments, silicone tends to cure faster, while in colder, more humid conditions, the curing time could take longer.
- Thickness of Application: The thickness of the silicone layer you apply will also affect the drying time. Thicker layers take longer to cure because the moisture inside the sealant needs to evaporate from the outside in. Thinner applications will generally cure quicker and provide a smoother finish.
How Long Should You Wait Before Using a Bathroom or Shower After Silicone Application?
Once you’ve applied silicone sealant to your tiling project, it’s essential to be patient and allow the silicone to cure properly. While the sealant may appear dry to the touch after a few hours, full curing typically takes up to 24 hours under optimal conditions. However, depending on your location in Bristol, weather conditions such as humidity and temperature can significantly influence curing time.
In colder, damp conditions, silicone may take longer to cure fully. This is especially important when working in bathrooms and kitchens, which are typically more humid environments. As a tiler, it’s essential to make your clients aware that the sealant may require up to 72 hours to fully cure before using their shower or bath. While waiting 24 hours is acceptable in some cases, it’s always a good idea to allow for an additional day or two to ensure the sealant is fully set.
Factors Affecting Silicone Curing Time
Several factors can affect the curing time of silicone sealant:
- Ambient Temperature: The temperature in the room where the silicone is applied plays a crucial role in the curing process. Silicone cures more quickly in warmer environments (above 10°C), but extreme heat can cause it to cure too quickly, which might compromise the bond. Conversely, colder temperatures slow down the curing time. In the UK, it’s recommended to work in a room temperature environment, ideally between 10°C (50°F) and 32°C (90°F).
- Humidity: Silicone sealant reacts with moisture in the air to cure. High humidity can speed up the curing process, while low humidity can slow it down. Since the UK climate tends to be more humid, silicone will generally cure more efficiently in these conditions compared to drier climates.
- Thickness of the Silicone Layer: The thickness of the silicone bead applied directly affects curing time. A thicker application of silicone will take longer to cure, as the moisture must evaporate through the outer layers first. Thinner beads cure faster and create a smoother, more even finish.
- Silicone Type: Different types of silicone sealants may have varying curing times. While the majority of bathroom silicones require 24 hours to cure, some fast-curing products may offer quicker results, especially in smaller applications. Always check the manufacturer’s instructions for specific curing guidelines.
The Importance of Proper Ventilation During Silicone Curing
When silicone is curing, it releases acetic acid, which can cause a strong, sometimes unpleasant smell. This is a normal part of the curing process, but it’s important to ensure proper ventilation to reduce the risk of inhaling these fumes. In poorly ventilated areas such as bathrooms, this smell can linger for longer.
If you’re working in a bathroom or another enclosed space, it’s essential to open windows or use an extractor fan to help ventilate the area. This will speed up the curing process and reduce the risk of respiratory irritation. Proper airflow helps ensure that the silicone cures correctly and prevents any harmful effects from inhaling the fumes.
How to Test if Silicone Sealant is Fully Cured
After the recommended curing time has passed, you should check if the silicone sealant is fully cured before exposing it to water. One simple test is to gently press the surface of the silicone. If it feels firm and dry, it’s likely cured. However, if it feels soft or tacky, it may need more time to set.
Remember, while silicone may appear dry to the touch within a few hours, it’s always best to wait at least 24 hours, and in some cases, 48 to 72 hours, before using the shower or bathtub.
Best Practices for Silicone Application
- Apply Silicone Evenly: For the best results, apply an even bead of silicone along the joint or gap you’re sealing. Use a smoothing tool or your finger to ensure that the silicone is spread uniformly. This helps prevent gaps or uneven surfaces that could allow water to seep through.
- Prepare Surfaces Properly: Ensure that the surfaces you’re sealing are clean and free from dust, dirt, or moisture. Use a cleaner designed for tile surfaces to remove any soap scum or residue before applying the silicone.
- Choose the Right Silicone: For bathroom tiling jobs, always opt for high-quality silicone sealant specifically designed for wet environments. This type of silicone is more resistant to mould and mildew growth and will provide a stronger, longer-lasting seal.
Final Thoughts
The drying and curing time for silicone sealant is an important consideration for any home improvement project. While silicone may feel dry to the touch within a few hours, it’s crucial to allow it to cure fully before subjecting it to water. By considering factors such as temperature, humidity, and application thickness, you can ensure your silicone sealant cures properly, providing a strong and durable bond for years to come.
Remember, patience is key. Whether you’re working on your bathroom or kitchen, taking the time to properly cure your silicone will ensure a high-quality finish and prevent issues down the line. Always check the manufacturer’s guidelines and allow the necessary time for the silicone to fully set before using the area.
At Flex Tiling, we understand the importance of getting silicone drying times right for the success of your tiling projects. Whether you’re a DIY enthusiast or in need of professional help for your bathroom, kitchen, or other tiling projects in Bristol, we offer expert services that ensure flawless, long-lasting results. Contact us today for more information on our tiling services and silicone sealing expertise.
FAQs
How long does silicone take to dry?
Silicone typically takes around 24 hours to fully cure under normal conditions, though it can feel dry to the touch within a few hours. However, environmental factors like temperature and humidity can affect the drying time. In colder or more humid conditions, it may take longer for the silicone to fully cure. It’s always best to wait at least 24 hours before using areas like showers or bathtubs that have been sealed with silicone. In some cases, especially with thick applications, it may take up to 72 hours for full curing.
How can I make silicone dry faster?
To speed up the drying time of silicone, ensure that the room is warm and well-ventilated. A temperature between 10°C and 32°C is ideal for curing. Increasing airflow by opening windows or using fans can help the silicone cure more quickly by allowing moisture to evaporate faster. Avoid applying silicone in very thick layers, as thinner beads tend to cure faster. However, it’s important not to rush the process, as silicone needs sufficient time to set and provide a strong, waterproof seal.