
How Long Does It Take to Tile a Bath Panel?
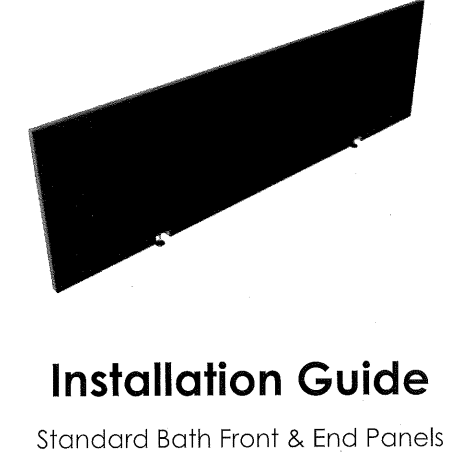
Replacing an old plywood or plasterboard bath panel with a tileable bath panel is a great way to create a seamless, high-end look in your bathroom. The time required for installation depends on:
- The size of the bath and the complexity of the tiling.
- Access and working space available.
- The type and weight of tiles being used.
Estimated Time for Installation
On average, a professional tiler will take 1 to 2 days to complete the job. This includes:
- Removing & Disposing of the old bath panel and preparing the area.
- Measuring & Cutting the new tileable bath panel for a precise fit.
- Fixing the Panel using screws and washers.
- Tiling & Grouting – Applying flexible, water-resistant adhesive, setting the tiles, and later grouting.
- Sealing & Cleaning – Applying silicone sealant for a waterproof finish.
Additional time may be required for waste disposal, material collection, or dealing with uneven surfaces.
Materials Needed for Tiling a Bath Panel
Using high-quality materials ensures a durable and long-lasting tiled bath panel. Essential materials include:
- Tiles – Suitable for bathroom environments, chosen for durability and style.
- Tileable bath panel – A specialist backerboard designed for tiling.
- Fixings – Screws and washers to secure the panel.
- Primer & Adhesive – A flexible, water-resistant tile adhesive with a suitable primer.
- Grout & Silicone Sealant – For finishing and waterproofing.
- Tile Spacers – To ensure even spacing and alignment.
Essential Tools for Bath Panel Tiling
A professional tiling job requires the right tools for precision and efficiency:
- Cutting Tools – A tile cutter, wet saw, or grinder for complex cuts.
- Fixing Tools – Screwdrivers, drills, and mixing paddles for adhesive.
- Tiling Tools – A notched trowel, tile spacers, and a grouting kit.
- Cleaning Tools – A washboy, sponges, and buckets for the final cleanup.
Key Considerations for a Professional Finish
- Drying Time – Rapid-set adhesives allow grouting within 3 to 6 hours, while standard-set adhesives can take up to 16 hours before grouting. Always check the manufacturer’s instructions.
- Follow Manufacturer Guidelines – Incorrect installation may void warranties and lead to tile failure.
- Temperature & Humidity – Room conditions can affect drying times, so proper ventilation is essential.
Get Professional Bath Panel Tiling in Bristol
Looking for expert bath tiling in Bristol? At Flex Tiling, we provide high-quality, professional installations with a focus on durability and style.
FAQs
What type of bath panel is best?
The best type of bath panel depends on your personal style, budget, and the functionality you need. Tileable bath panels are popular for their versatility and seamless finish, allowing you to match the panel with the rest of your bathroom tiles for a uniform look. Acrylic panels are another good choice due to their durability and easy maintenance. Wooden panels offer a more traditional, luxurious feel but may require more upkeep to prevent water damage. PVC panels are budget-friendly, water-resistant, and low maintenance, making them ideal for a more practical bathroom design.
Are bath panels better than tiles?
Bath panels and tiles serve different purposes, so it’s not necessarily about which one is “better.” Tiles are a great option for creating a durable, waterproof surface around the bath and can offer endless design possibilities. They are also easier to clean and maintain in wet areas. On the other hand, bath panels, especially tileable ones, can provide a smoother, more streamlined look. Tileable panels allow you to match the design of your bath area seamlessly with your bathroom tiles, while traditional bath panels can offer a quicker and less messy installation process.
How to tile around a bath in the UK?
Tiling around a bath in the UK involves a few important steps to ensure the tiles are properly sealed and protected from water damage. Start by measuring the area around the bath and cutting your tiles to fit, making sure to leave a small gap for grout. Apply a waterproof adhesive to the wall and press the tiles firmly in place. Make sure to use a waterproof grout to prevent any moisture from seeping behind the tiles. For a professional finish, you may want to add a tileable bath panel to the base of the bath, ensuring the entire area is both stylish and water-resistant. Finally, ensure proper ventilation to allow for drying and to prevent mould growth in the humid environment.